How to book a patient appointment?
Schedule dental appointments, assign treating doctors, choose operatory chairs, and dispatch instant confirmations.
5 min read · Last updated September 2026
1. Open the Schedule Board
Open your clinic's daily calendar:
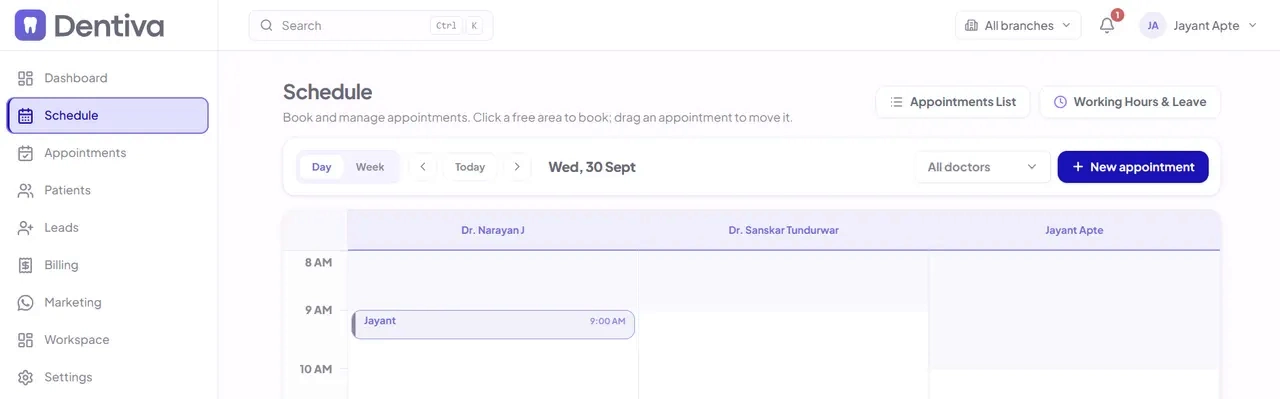
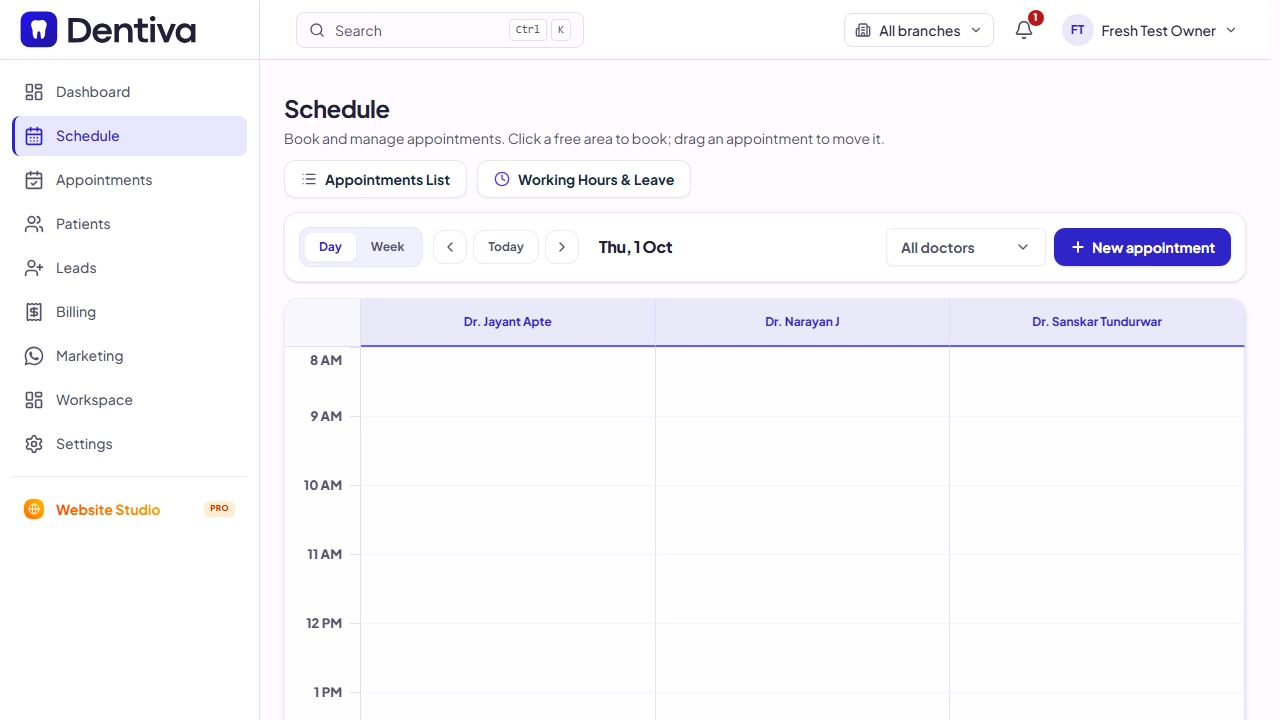
- In the left sidebar navigation, click on Schedule.
- This opens your practice timeline view showing doctor columns and operatory chair bays.
2. Click an Open Slot or '+ New Appointment'
Pick a time slot or start a new booking:
- Click directly on any empty time slot under the treating doctor's schedule column.
- Or click the + New Appointment button on the calendar toolbar at the top.
3. Select or Quick-Add Patient
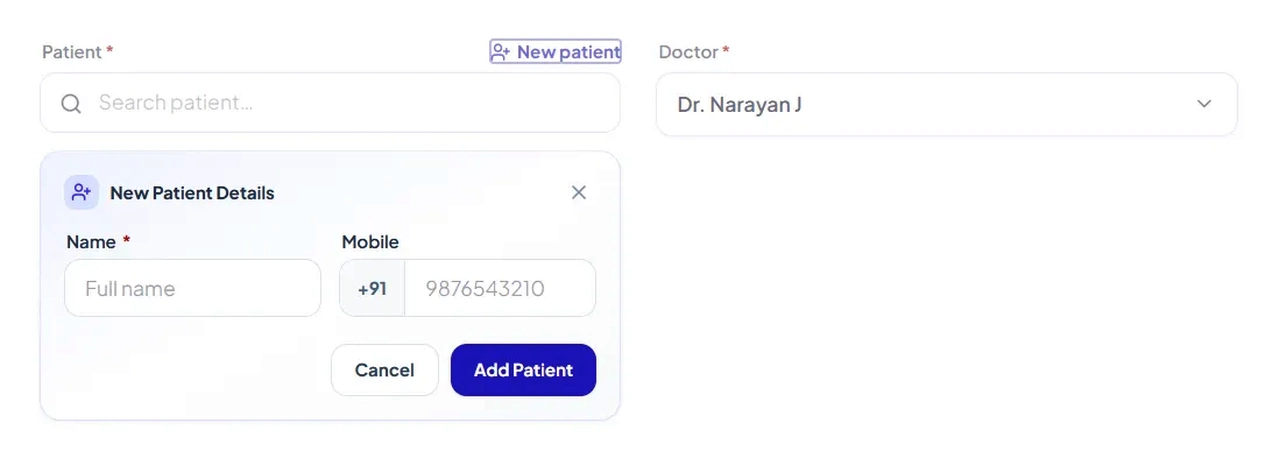
Search for an existing patient or quick-add a new walk-in:
- Existing Patient: Type the patient's name or mobile number in the search bar.
- Quick-Add Walk-in: If the patient is not yet registered, click + New Patient directly inside the search box to register them without losing your calendar spot.
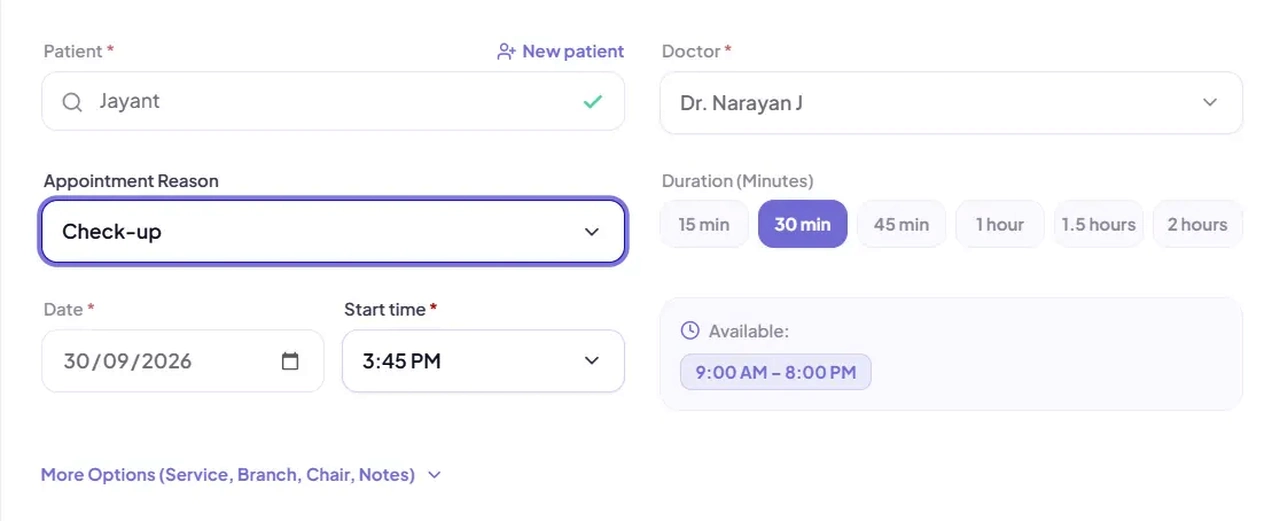
4. Configure Doctor, Reason, Duration, and Chair
Set appointment details and assign an operatory chair:
- Treating Doctor (Required): Select the clinician who will conduct the procedure.
- Reason / Procedure: Choose or type the treatment (e.g., Root Canal Consultation, Dental Cleaning, or Aligner Scan).
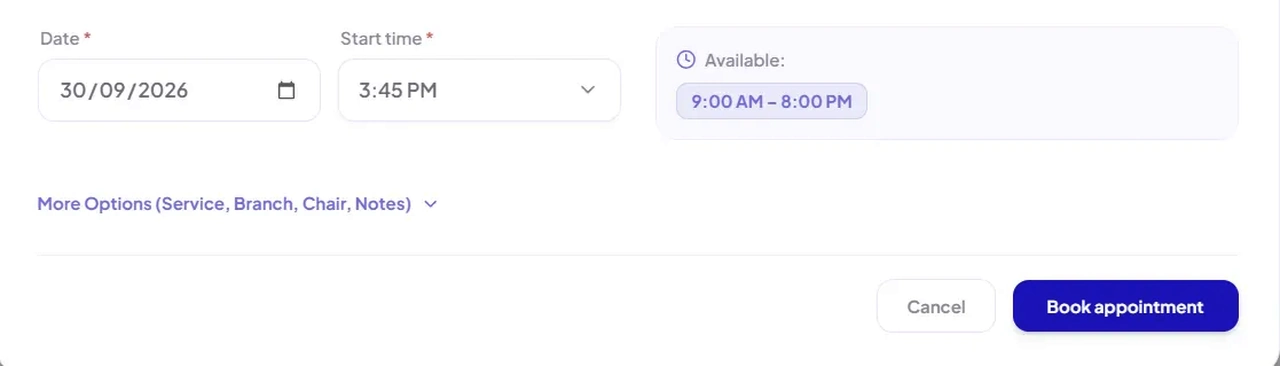
- Date & Start Time: Confirm the visit date and scheduled start time.
- Duration: Click a preset button (15m, 30m, 45m, or 60m).
- Operatory Chair: Assign a specific chair (e.g., Chair 1 - Operatory A) to prevent treatment room conflicts.
5. Click 'Book appointment'
Confirm booking and send automated alerts:
- Click the blue Book appointment button.
- The appointment card appears immediately on the doctor's timeline.
- An automated WhatsApp confirmation message with appointment time and clinic Google Maps directions is dispatched to the patient's phone.